Your Guide To Hydrocolloid Pimple Patches
Pimple patches have surged in popularity over the last couple of years. Here, learn how hydrocolloid acne patches work and how to use them to address breakouts.
YOUR GUIDE TO HYDROCOLLOID PIMPLE PATCHES
Pimple patches, zit stickers, blemish bandages: Whatever you call them, hydrocolloid patches are everywhere these days. Though the technology behind hydrocolloid dressings isn't new, using them to help manage blemish-prone skin is. As such, there's a good chance you've never used blemish patches to help clear your breakouts—even if you're one of the estimated 40% to 54% of people who deal with blemishes.
Ahead, we're doing a deep dive on hydrocolloid pimple patches. You'll learn what they are, how they work, and why they're so effective for breakouts. We'll also teach you the right way to prep your skin before applying a blemish patch, plus provide recommendations on the products to use in your skincare routine for blemish-prone skin. Read on for your crash course on using pimple patches for clearer-looking skin.
What Are Pimple Patches?
Blemish patches are essentially small "stickers'' that can be applied to breakouts to help absorb the pimple's contents and encourage the spot to heal. They're typically made out of a gel-based hydrocolloid inner layer (we'll get to that in a moment) with a flexible but impermeable silicone outer layer. They come in many different sizes, from small patches designed for individual blemishes to bigger sheets made to target larger problem areas.
How Do Hydrocolloid Patches Work?
Hydrocolloid bandages don't typically contain any blemish-fighting ingredients, like benzoyl peroxide or salicylic acid. In other words, they don't help the blemish heal by fighting it. When applied to a spot, like a pimple, the patch does two things. First and foremost, it helps shield the spot, providing a moist (and clean) environment. The patch's outer layer helps keep the area clean by preventing microbes, like infection-causing bacteria, from entering the blemish.
At the same time, hydrocolloid pimple patches help absorb oil and bacteria from within the pimple. Interestingly, hydrocolloid bandages have been used in medical settings since the late 1960s, but it wasn't until recently that they became a popular way to manage breakouts at home.
How To Use Hydrocolloid Patches
Now that you know what hydrocolloid patches are, we can get into the good stuff: How to use them. First, identify the blemish you want to cover and choose a pimple patch that will cover the spot in its entirety. If the area you want to treat has multiple blemishes, a larger hydrocolloid patch may be ideal.
Then, using a dampened cotton swab, gently clean the spot until it is completely free of product. Once it's sufficiently cleaned, you can peel the pimple patch from its backing and carefully apply it sticky-side down. Exact application instructions may differ from product to product. For example, most pimple patches are designed to be worn overnight, but this can vary. Follow the directions included with the specific patches you're using.
Once you've left your pimple patch on for the recommended amount of time, wash your hands and carefully remove the sticker from your blemish. Then, cleanse, tone, and moisturize your face as usual with your preferred products.
Our Top Recommendations For Blemish-Prone Skin
While we don't have our own hydrocolloid patches to tell you about, we do have a recommended routine for keeping blemish-prone skin clean and healthy-looking.
Step 1:
Wash Your Face Thoroughly
As you may know, blemishes usually result from an overproduction of sebum, your skin's natural oil. While over-the-counter skincare products won't change this, the right cleanser can help remove excess oil from the skin's surface.
To manage blemishes, look for a cleanser formulated for blemish-prone skin, like Calendula Deep Cleansing Foaming Face Wash. This efficient face wash with salicylic acid helps purify pores to remove dirt, sweat, and excess oil. When used as the first step in your skincare routine, it helps clear up blemishes and works to prevent new breakouts from forming.
Apply a dime-sized amount of the creamy cleanser to damp skin and massage it over your face to create a foamy lather. Then, rinse your face thoroughly with lukewarm water and pat your skin dry with a clean towel.
Step 2:
Apply a Detoxifying Face Mask
After cleansing and drying your face, smooth on a detoxifying face mask, like Rare Earth Deep Pore Cleansing Mask. This award-winning formula, which contains mineral-rich Amazonian white clay, helps draw out the dirt, oil, and other impurities that can cause clogged pores(and, by extension, blemishes). The deeply detoxifying formula is clinically-demonstrated to reduce skin's surface oil by 46.7% after one application, while continued use helps to refine the skin and minimize the appearance of enlarged pores.* This Kiehl's favorite is suitable for all skin types but particularly useful for those with highly congested skin. Apply a visible, even layer to your entire face or just to your skin's oiliest areas (usually, this includes the forehead, nose, and chin). Allow the mask to dry for ten minutes, then rinse well with lukewarm or cool water.
*Results based on a two-hour instrumental test vs. untreated skin on 24 subjects.
Step 3:
Remove Lingering Impurities With Toner
Before proceeding with your blemish treatments, you'll want to make certain your skin is clean and free of residue from your clay mask. Instead of cleansing again, reach for a gentle toner for oily skin. We recommend using a clean cotton pad to swipe the toning liquid over your face and allowing your skin to dry for a minute or two before continuing on to the next step.
Step 4:
Layer On Your Favorite Moisturizer
Skincare products formulated to help address breakouts tend to dry the skin. And when your skin becomes dry, your body makes more oil. The extra oil can clog your pores, which may lead to more blemishes. Thankfully, you can easily help avoid this problem with regular moisturizing. Using a moisturizer every day can be helpful any time your skin feels dry, and this is no exception. After patting on your face oil, reach for a lightweight yet hydrating face cream, like Ultra Facial Oil-Free Gel Cream. This refreshing, alcohol-free moisturizer absorbs quickly and imparts the skin with weightless 24-hour hydration that feels fresh and clean. Apply an even layer to your face and neck morning and evening for balanced, healthy-looking skin.
If you prefer a moisturizer that will help keep breakouts at bay, reach instead for Expertly Clear Blemish-Treating Preventing Lotion, a hydrating acne treatment with 1.2% Salicylic Acid and 2% Niacinamide specifically formulated to clear acne and help prevent future breakouts.
Step 5:
Spot-Treat As Needed
Breakout Control Targeted Acne Spot Treatment
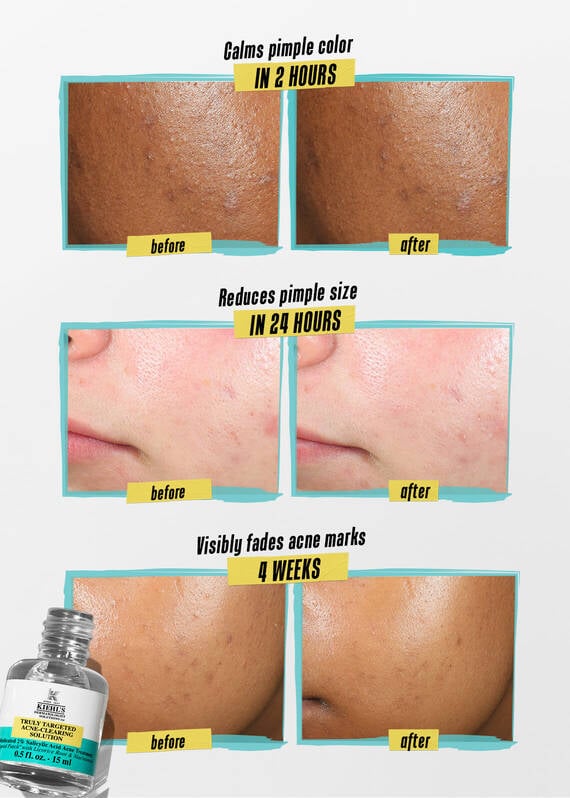
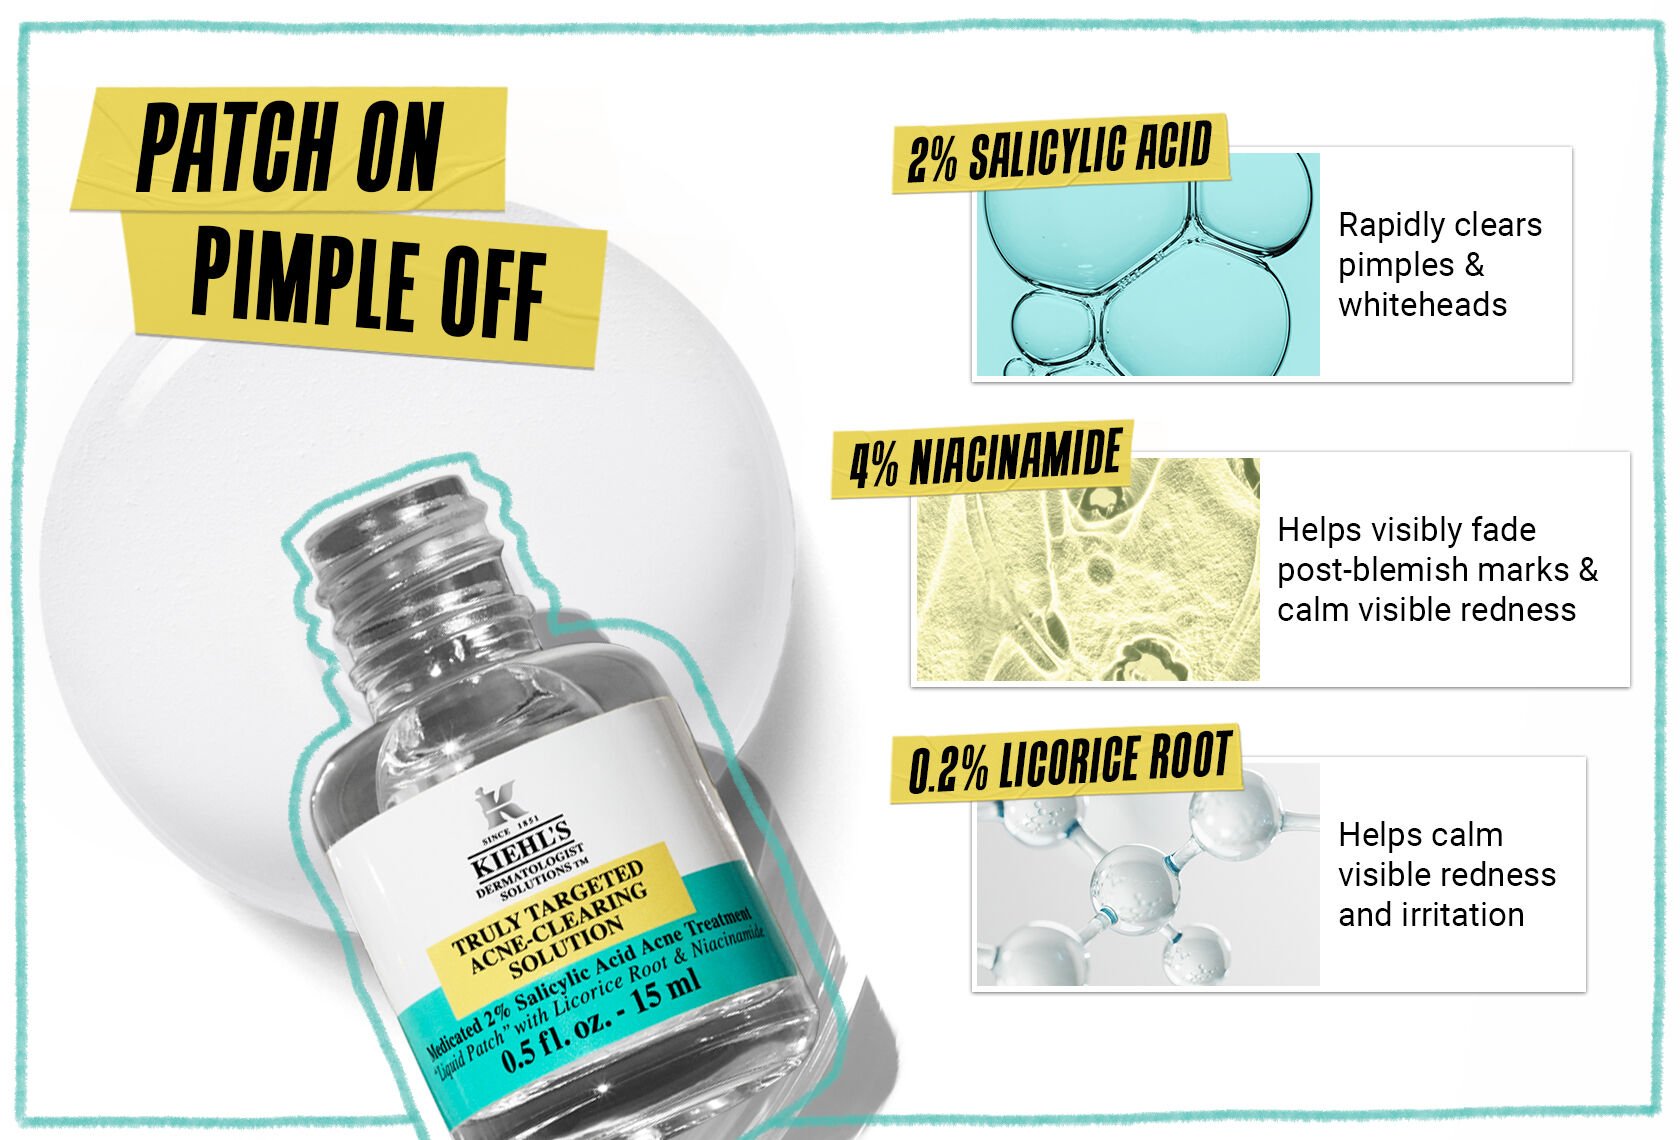
Use a spot treatment, like Truly Targeted Blemish-Clearing Solution, Our invisible liquid pimple patch with 2% Salicylic Acid is specifically formulated to help visibly reduce pimple size, color and post-blemish marks. Concentrated with medicated 2% Salicylic Acid, 4% Niacinamide and 0.2% Licorice Root, our formula works to reduce the appearance of pimples, calm visible redness and fade post-blemish marks. Using our exclusive “liquid patch” technology, our acne-clearing spot treatment creates a breathable seal that layers seamlessly with sunscreen and under makeup.

*Tested in a dermatologist-controlled clinical study.
Step 6:
Don't Forget Sunscreen
For daytime, remember to finish your skincare routine with a lightweight, broad-spectrum sunscreen to help protect your skin from the sun's damaging rays. While any broad-spectrum sunscreen will do, we recommend Super Fluid Daily UV Defense 50+.


